
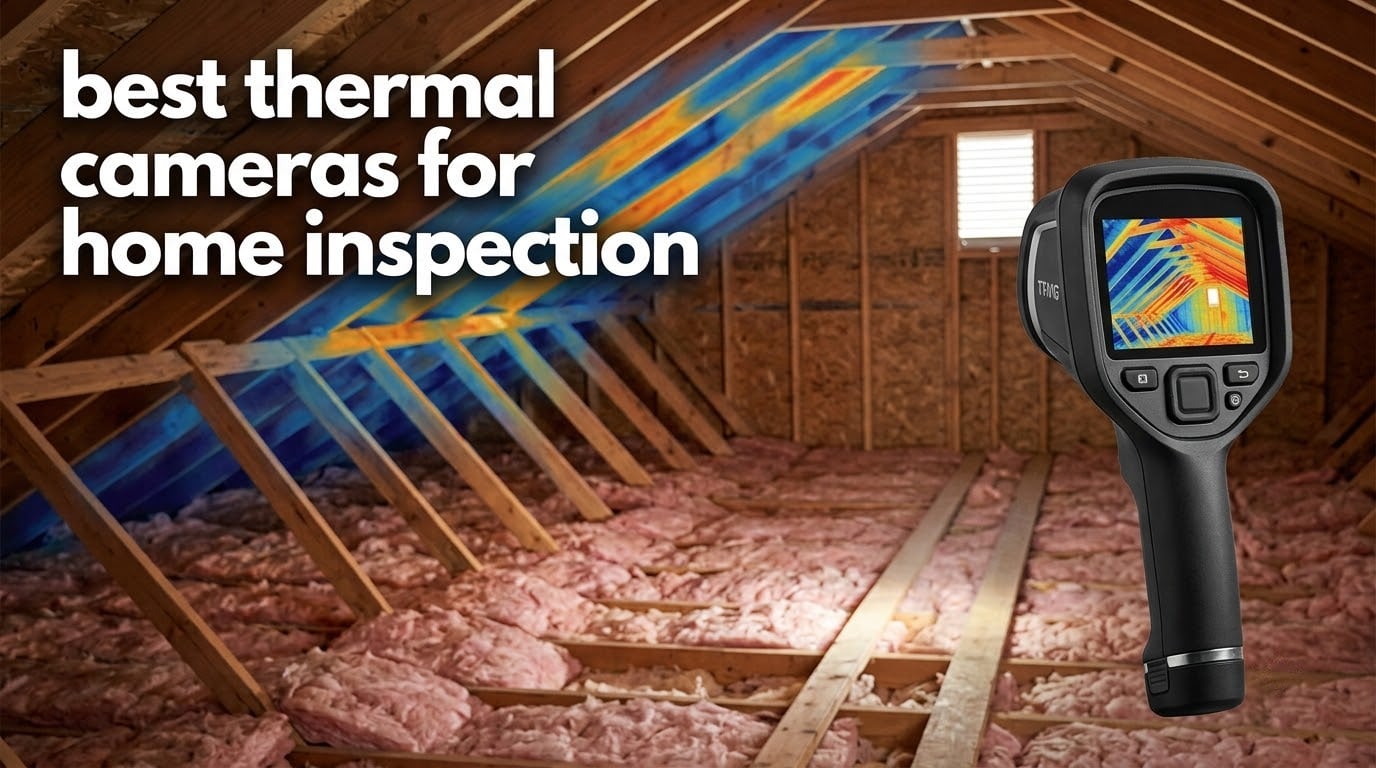
If you want the short answer, the TOPDON TC004 Mini is the best overall thermal camera for home inspection work in 2026 – it is the most heavily reviewed camera in this group and it holds up on real attic, crawlspace and electrical jobs. The Thermal Master Thor002 is the pick for close-range detail, thanks to genuine 512 x 384 native sensor pixels. The FLIR C5 remains the standard for client-facing report work and long warranty coverage.
A thermal camera does one thing well: it reads the surface temperature of what you are pointing it at and paints a false-colour picture of the differences. For home inspection that means missing insulation, air leakage around window and door frames, thermal bridging at rim joists, cold or hot plumbing lines, and overheating electrical connections become visible without opening a wall.
What it cannot do matters just as much. It cannot see through walls, it cannot identify what is behind an anomaly, and it cannot prove moisture or a defect. Every significant thermal finding has to be confirmed with a pinless moisture meter, a borescope, a visual check or a licensed electrician before it goes anywhere near a report. Our picks below are the eight best thermal cameras for home inspection, and we are explicit about which one is right for which job.
We spent time working through published specifications, manufacturer documentation and owner feedback on each of these cameras, then mapped every one to the targets an inspector actually walks into: attic knee walls, rim joists, window heads, plumbing stacks, breaker panels and exterior siding. We also pulled in what inspectors say on the NACHI forum and r/HomeInspections, because the recurring theme there is that training and interpretation, not sensor quality, is what limits a thermal scan.
Top 3 Thermal Cameras for Home Inspection in 2026


Those three cover very different needs. The TC004 Mini is the one you can hand to a new inspector and forget about. The Thor002 is the one that resolves a small anomaly on a distant wall without you walking up to it. The C5 is the one whose report file a client, an agent or an insurer will accept without a second opinion.
Best Thermal Cameras for Home Inspection (October 2026)
| Product | Specs | Action |
|---|---|---|
| TOPDON TC004 Mini |
|
Check Latest Price |
| Thermal Master Thor002 |
|
Check Latest Price |
 FLIR C5 FLIR C5 |
|
Check Latest Price |
 Klein Tools TI250 Klein Tools TI250 |
|
Check Latest Price |
 MiLESEEY TR10 MiLESEEY TR10 |
|
Check Latest Price |
 FOXWELL RT280 FOXWELL RT280 |
|
Check Latest Price |
 FLIR TG165-X FLIR TG165-X |
|
Check Latest Price |
 HSFTOOLS HF96V HSFTOOLS HF96V |
|
Check Latest Price |
Two specs in that table deserve a warning label. The TC004 Mini, the RT280 and the HF96V all advertise a headline resolution higher than their physical detector. The TC004 Mini shows 240×240 produced by TISR processing from a 128×128 sensor, the RT280 shows 240×180 from a 120×90 sensor, and the HF96V shows 240×240 from a 96×96 sensor. The pictures look good in a thermogram. They just do not contain the detail a native sensor would give you.
1. TOPDON TC004 Mini – Best Overall for Routine Home Inspection Work
TOPDON TC004 Mini Thermal Imaging Camera, 240 x 240 TISR Resolution
TISR 240x240 image
-4F to 842F range, plus or minus 3.6F
25Hz, 40x30 degree FOV
15-hour battery, IP54, 2m drop
Pros
- 15-hour battery covers a full inspection day on one charge
- Best-in-class value for whole-house and electrical work
- Automatic high/low alarm captures the photo for you
- Pocketable at just over a pound and rated to survive 2m drops
Cons
- Resolution is software-enhanced from a 128x128 sensor
- 512MB internal storage holds about 8000 photos
- No paper manual
- electronic manual only
Over a full inspection day the TC004 Mini is the camera we would hand to an inspector who is doing twenty houses a week. The 15-hour battery is the number that matters most in that scenario, and none of the other cameras here matches it on a single charge.
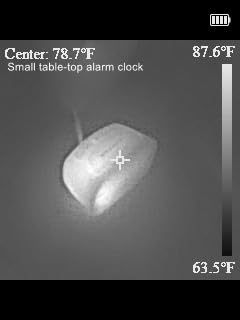
Owner feedback is consistently strong on three specific things: underfloor heating tracing, leak detection and electrical panel screening. The automatic high and low temperature warning will sound, flag the anomaly and trigger a photo capture without the inspector touching a control, which is exactly what you want when you are working one-handed in a dark crawlspace with gloves on.
The auto shut-off timer is settable at 5, 10 and 20 minutes, so a forgotten camera in a client’s attic does not quietly drain a battery. Storage is 512MB of eMMC, which holds up to 8000 photos, and for most single-home inspections that is plenty before you offload to a computer.
The 40×30 degree field of view is narrower than the 50 degree offered by the RT280 and the HF96V, so wide exterior siding shots need you to step back or scan in two passes. Accuracy is listed at plus or minus 3.6F or 2 percent, and the temperature range tops out at 842F rather than the 1022F on the Thor002, the TR10 and the RT280.
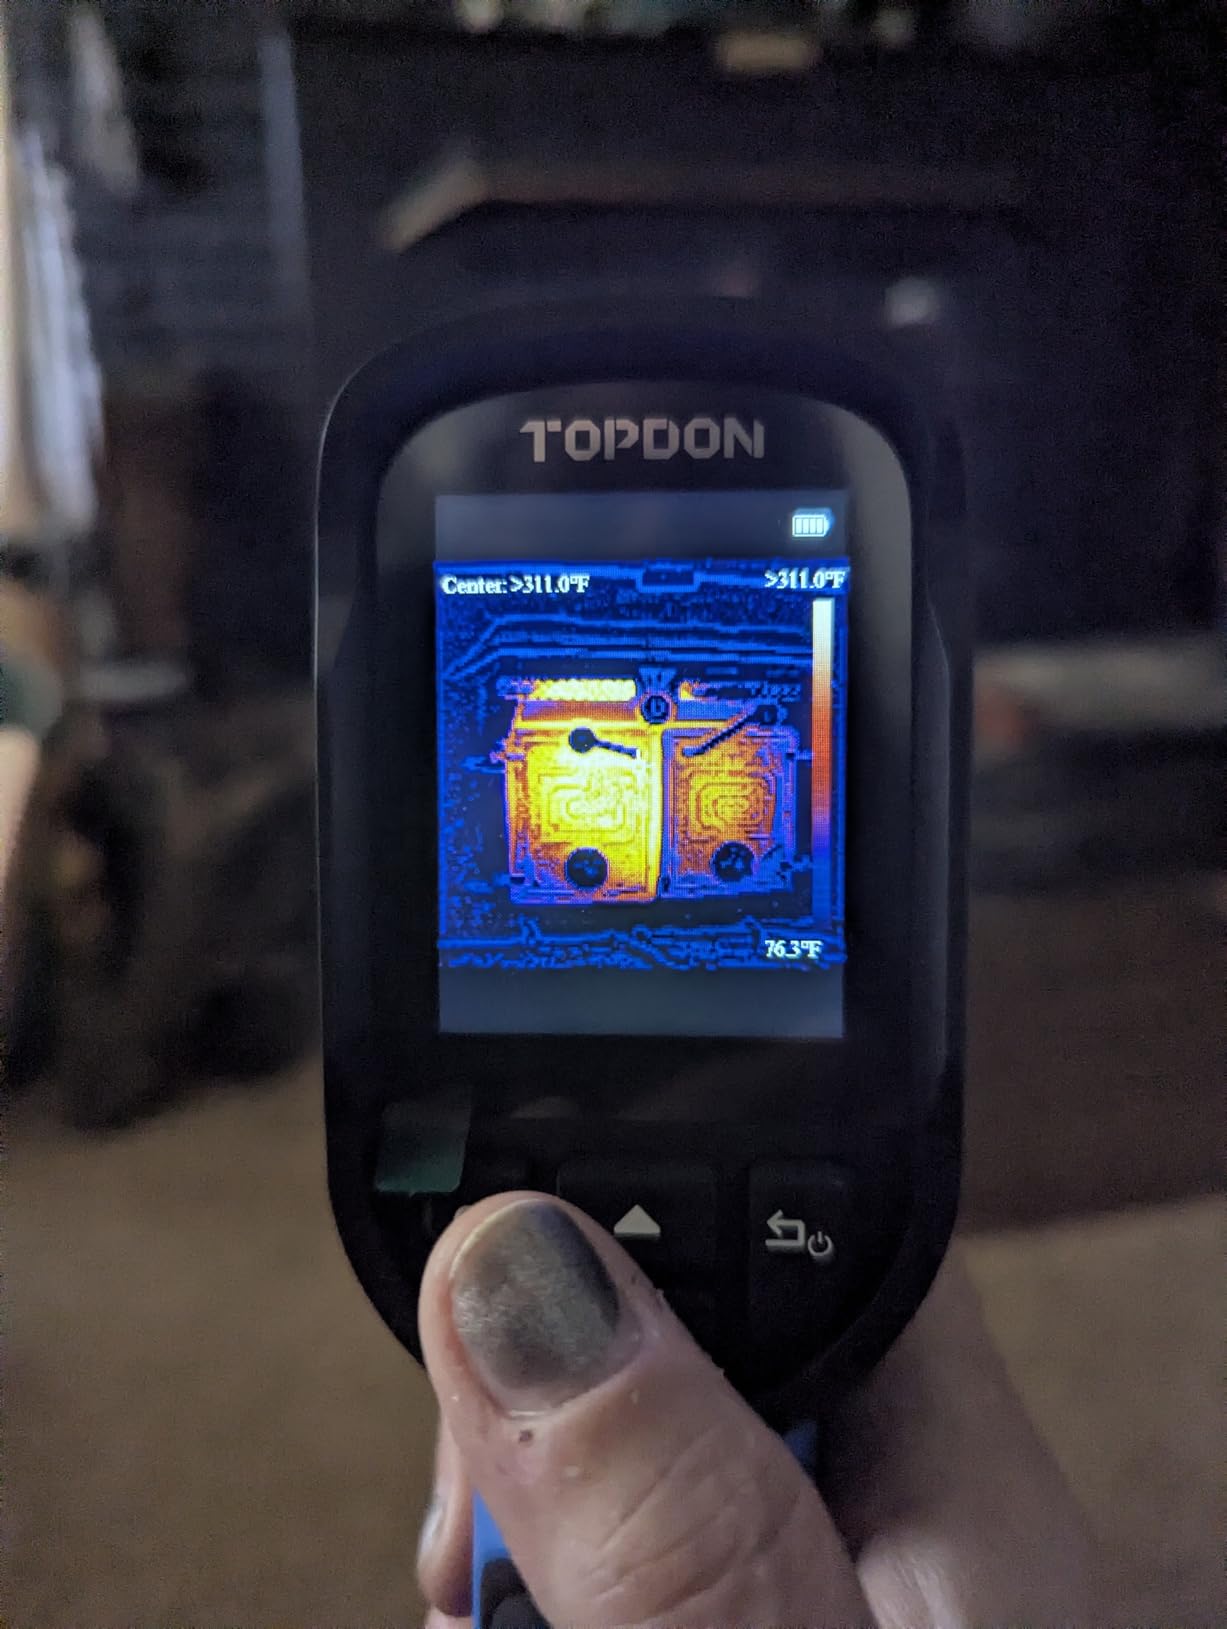
Where the TC004 Mini earns its keep on a house
Attic and crawlspace sweeps are where it shines. Fifteen hours of runtime means a full day of attic work without a charger, the 2-meter drop rating survives the ladder and the joists, and the auto alarm captures the anomaly image so you are not hand-stabilising a camera in an awkward position to hit save.
For electrical panels it does the screening job inspectors want: point it at the panel from a safe distance, let the alarm flag the hot breaker, then confirm with an infrared thermometer or an electrician. Underfloor heating is the other strong use, since the wide palette set and the smooth 25Hz refresh make it easy to follow a heating loop through floorboards.
It is also the one we would recommend to a homeowner doing a pre-listing or pre-purchase sweep. There is no ecosystem to learn, no cloud account, no phone in the loop, and the whole thing runs on one long charge.
Where the TC004 Mini falls short
Do not treat the 240×240 figure as a native resolution. The underlying detector is 128×128 and TOPDON’s TISR processing interpolates the rest, so a small cold spot on a distant ceiling will look plausible without being measurable. The MiLESEEY TR10 has a true 192×192 sensor for that reason.
There is no visible-light camera, so every image you save is thermal only with no photographic context attached. For a report that argues for a defect, context matters. There is also no charging head in the box – just the cable – and the manual is a download, not a booklet.
2. Thermal Master Thor002 – Native 512 x 384 for Close Work
Thermal Master Thor002 Handheld Thermal Camera, 512 × 384 X³ Resolution
512x384 native X3 resolution
40mK sensitivity at 25Hz
-4F to 1022F, plus or minus 3.6F
10.5-hour battery, IP54, 2m drop
Pros
- 512x384 native X3 thermal resolution is the real sensor figure
- 40mK sensitivity picks up small deltas at distance
- 2MP visible camera plus 640x480 IPS display
- 6-point measurement with custom emissivity settings
Cons
- Bulky at 3.12 pounds and 10.24 inches long
- 3.5-inch screen is small for reviewing fine detail
This is the only camera in our eight that delivers real detector pixels at the top end. 512 x 384 native is roughly ten times the pixel count of a 160 x 120 handheld, and that gap is the whole argument for this camera.
The practical difference shows up on exactly the targets that frustrate inspectors. A thermal bridge at a rim joist band, a narrow cold stripe along the head of a window, a single warm breaker in a full panel – these are small anomalies measured across few pixels on an entry sensor and many pixels on a 512 x 384 detector.
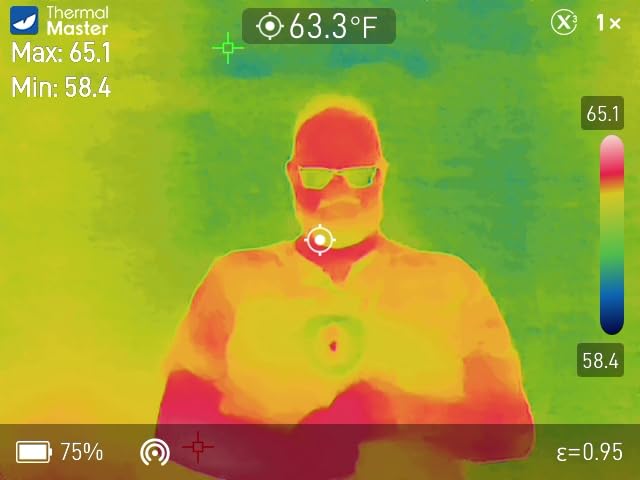
The Thor002 also pairs that detector with a 2MP visible-light camera and a 3.5-inch 640×480 IPS display, so you can capture a fusion image in the same pull as the thermal one. The 4.3mm lens extends detection range by 34.4 percent and pairs with 4x digital zoom for pulling back on a roof line.
On the reporting side it is unusually well equipped for the entry tier. USB connection to a PC for real-time thermal analysis, WiFi pairing with smartphones and tablets, 32GB of on-device storage, voice notes and QR code file management. Six simultaneous measurement points – centre, hottest, coldest plus three user-defined – are exactly what you want for a before-and-after comparison around an air-sealing job.
Battery life is 10.5 hours from a 5000mAh cell with 18W fast charging. Ruggedness is IP54 with 2-meter drop resistance. Owners report it working across electrical, HVAC, mechanical and building inspection work, and the review profile is strongly positive with 75 percent five-star ratings.
What the Thor002 shows that cheaper units cannot
Small, low-contrast anomalies. At 40mK thermal sensitivity and 25Hz, the Thor002 resolves a modest temperature difference across a narrow feature from a few feet back, which is what makes it useful for tracing a linear air leak along a ceiling joint rather than only the big obvious patches.
It is also the one to carry when the client wants evidence. The combination of a 2MP visible sensor, 32GB of storage, voice notes and USB or WiFi transfer to a computer means you can build a proper before-and-after file set without hunting for a cable or a cloud login.
Temperature measurement runs from -4F to 1022F with plus or minus 3.6F accuracy, and emissivity is fully customisable, which matters when you are switching between painted drywall, brick and vinyl siding in the same room.
What the Thor002 will not do for you
It is heavy. At 3.12 pounds and just over 10 inches long, this is not a pocket tool – it is a belt-clip or shoulder-strap tool, and on a long crawlspace job your forearm will notice. The 3.5-inch screen is also on the small side, so reviewing fine detail back in the truck means zooming in rather than reading it on the device.
Native resolution does not fix a poor scan protocol. If the delta T across the envelope is too small or the HVAC has been running all morning, no detector will separate the anomaly from the background. Confirm readings before you write anything down.
3. FLIR C5 – Best for Client-Facing Reports and Brand Support
Flir C5 Compact Thermal Imaging Camera, WiFi, 160×120 MSX, Ignite
160x120 true thermal with MSX
-20C to 400C measurement
5MP visible sensor, 3.5-inch screen
WiFi to FLIR Ignite cloud reports
Pros
- MSX embosses visible detail onto the thermal image
- Infrared and normal photos captured in one pull
- 190g body fits in a pocket with pouch and strap
- 2-year parts and labor plus 10-year detector warranty
Cons
- Costs the most here while running the smallest native resolution
- Ignite requires uploading images to a cloud service
- Some owners report slow startup and WiFi upload failures
The C5 is the answer to a specific question: which camera produces a report artefact a client, an agent or an insurer will not argue with. After years in the field that answer is usually the one with a documented warranty behind it and an established cloud report workflow.
Its 160×120 sensor with patented MSX is entry-level by raw pixel count, and it would be a mistake to buy it for raw resolution. What MSX does is emboss visible-light detail onto the thermal image, so the framing of a wall stud, a roof truss and a window edge stays legible. For a report that a homeowner is going to look at, that matters more than pixel count does.
The 5MP visible photo sensor is the other half of the argument. You can capture an infrared image, a visual image, an MSX frame or picture-in-picture in a single workflow, and the pairing of a labelled thermogram with a normal photograph is what makes a finding persuasive.
Warranty terms are the quiet advantage. FLIR backs it with two years on parts and labor and ten years on the detector, plus ten years of EU spare part availability. When you are buying a tool you will use daily for a decade, that is a real line item in the ownership calculation.
It is also genuinely pocketable at 190g with a 3.5-inch 16:9 screen, fixed focus with a 0.3m macro range, and MP4 video capture at 1080p. The real angle of view is 5.41 degrees, which is narrow – a planning consideration when you are framing a whole exterior wall.
WiFi connects to FLIR Ignite for cloud upload and professional report creation, and that is the ecosystem lock-in. The review profile shows 68 percent five-star, 14 percent four-star and 10 percent one-star, with the one-star share concentrated on connectivity and firmware issues rather than on imaging quality.
Why the C5 is still the reporting standard
Defensibility. When an anomaly turns into a dispute, the question is not whether your camera was good, it is whether your documentation method is defensible. A named brand with a ten-year detector warranty and a documented cloud report trail answers that question before it is asked.
MSX plus a 5MP visible sensor in the same capture is the specific workflow inspectors describe as their professional standard. The thermogram keeps the framing, the photograph gives the client context, and both come out of one device that fits in a pocket.
It is also the easiest of these eight to hand to a client and let them look at the results themselves, which turns a screening pass into a paid add-on service rather than a line in a report nobody reads.
Why the C5 is hard to justify for some buyers
The C5 pairs a large price with a small native resolution. Anyone buying primarily to resolve small anomalies at distance would be better served by the Thor002’s 512 x 384 native detector, and anyone buying for a one-time homeowner sweep would find the TC004 Mini or the TI250 more practical.
Ignite is also a dependency rather than a convenience. Core reporting runs through uploading to a cloud service, and owners report that WiFi pairing can be unreliable, that startup can be slow, and that upload failures happen. A camera that cannot save an image locally is a problem in a crawlspace with no signal.
4. Klein Tools TI250 – Best Carry-Anywhere Diagnostic Tool
Klein Tools TI250 Rechargeable Thermal Imaging Camera, Camera Displays Over 19,200 Pixels with 3 Color Palettes, High / Low Temperature Points
Over 19200 pixel thermal imager
Emissivity adjustable 0.01 to 0.99
Alarms from -4F to 752F
8.6 ounces with carrying case
Pros
- Accurate readings that owners cross-check against other meters
- 8.6 ounce body genuinely fits a pocket or a tool bag
- Center high and low crosshairs make anomalies obvious
- Three palettes plus adjustable emissivity handle mixed surfaces
Cons
- Entry-level resolution limits detail on small components
- No visible-light sensor for a reference photo
- Screen can pause briefly while recalibrating
The TI250 answers a different question from the other seven: what should be in the truck for the quick check between jobs. At 8.6 ounces with a carrying case, it is the camera that actually gets carried, and cameras that get carried get used.
Owner feedback is unusually specific and positive about accuracy. Users describe cross-checking its readings against other meters and finding them consistent, and they report reliable results for envelope air leaks, missing insulation and general hot-spot work. The review profile is 72 percent five-star and 15 percent four-star across 937 reviews.
Crosshair centre, high and low points are the feature we would single out for inspection work. Those three markers tell you instantly whether a warm patch is genuinely the hottest thing in frame, which is the difference between a real anomaly and a warm sunlit strip of siding.
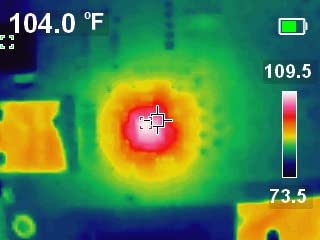
Emissivity adjusts from 0.01 to 0.99, which covers painted drywall, brick, tile and wood in the same walkthrough. Temperature alarms are user-selectable from -4F to 752F, three colour palettes are available, and images capture and save over USB-C.
The box includes the imager, a charging cable, a carrying case and instructions, and the rechargeable battery is built in rather than removable, so there is nothing to lose on site.
It is rated for indoor use rather than a harsh jobsite, and the recessed design means it is not the camera to take into a wet crawlspace. For a truck, a van or a home sweep it is the most convenient unit in this group.
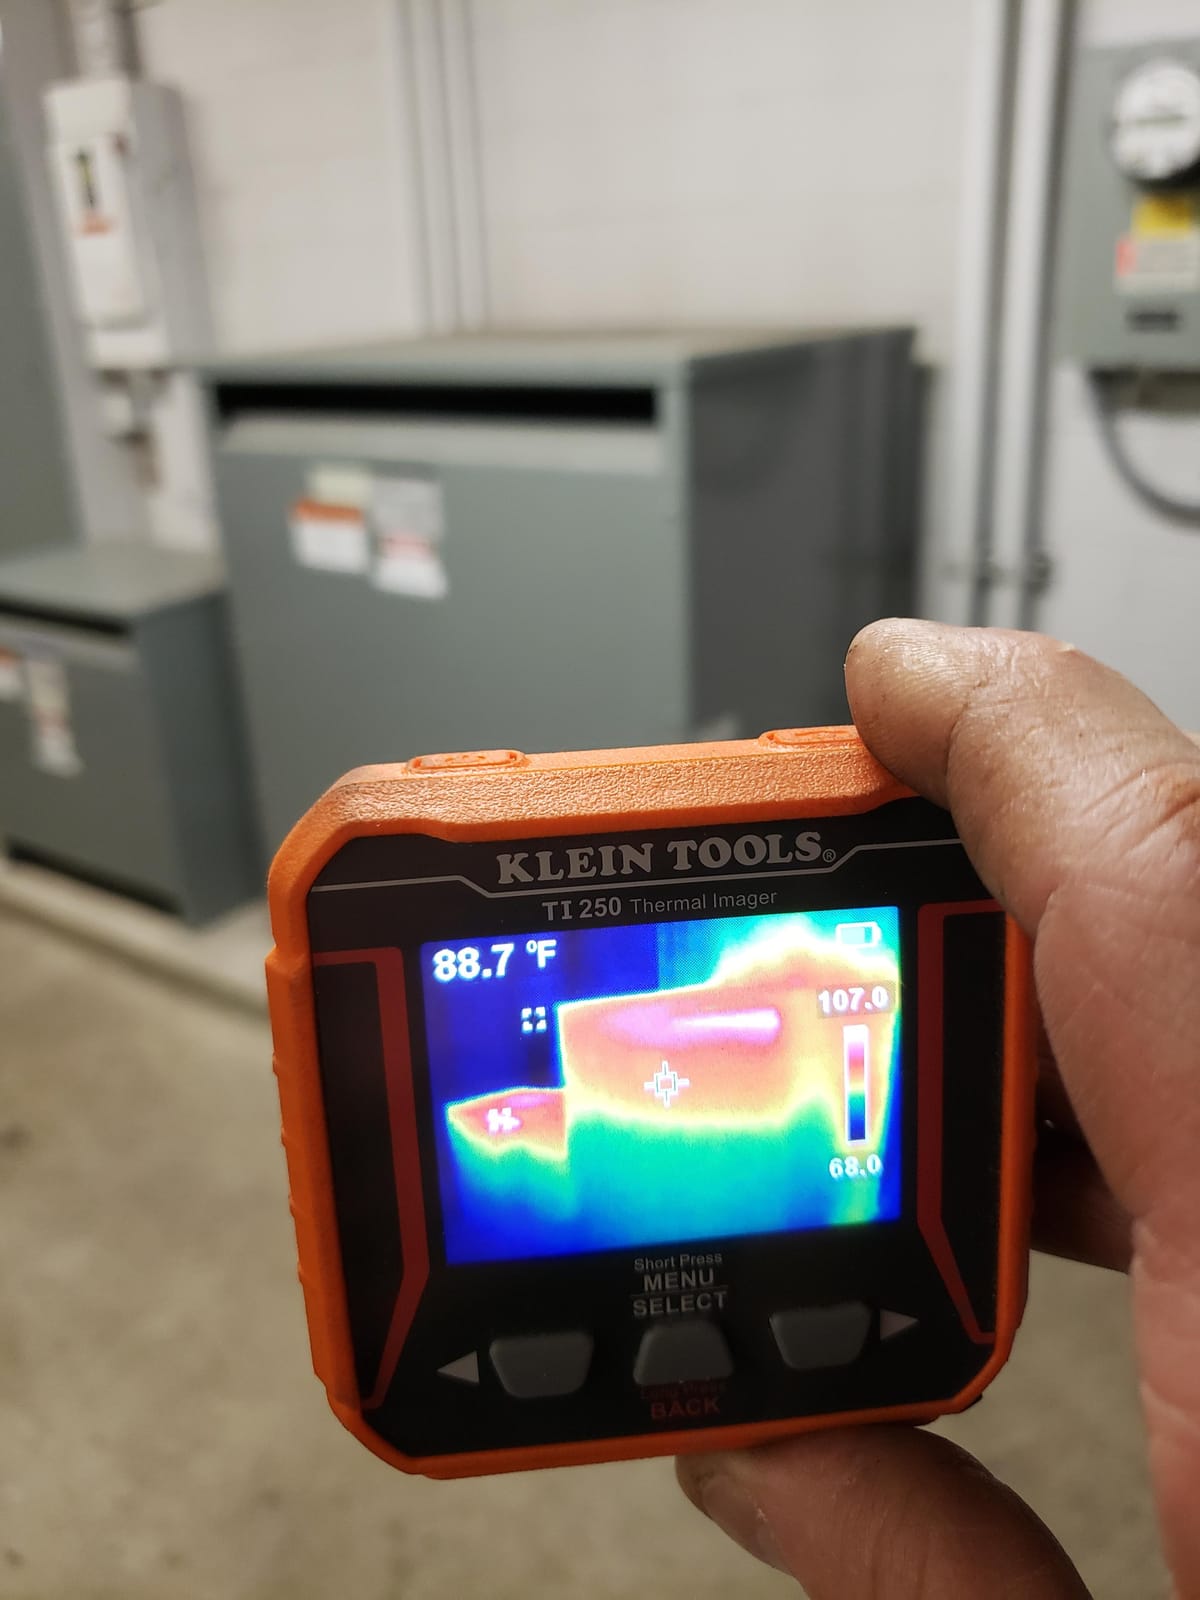
What the TI250 handles well in a live inspection
Fast triage. You are not producing a legal exhibit, you are deciding where to spend the next twenty minutes. The high and low crosshairs plus user-set alarms make that call in seconds, which is the entire value of the tool.
Mixed-material rooms. Emissivity from 0.01 to 0.99 means a kitchen with stainless appliances, tile and painted cabinetry does not force you to accept garbage readings on half the surfaces.
Routine HVAC and electrical spot checks. Owners use it to confirm a vent is delivering, that a supply register is not starved, and that a surface is not unexpectedly warm – all within its -4F to 752F measurement window.
Where the TI250 resolution ceiling bites
Roughly 19200 pixels is genuinely entry-level. The Klein is listed at over 19200 pixels, which is the same class of detector as the FLIR C5 and about a third of the Thor002’s pixel count, and that limits you to broad anomalies rather than fine features.
There is no visible-light sensor, so you cannot pair a thermogram with a reference photograph – a real limitation when the finding has to hold up later. Owners also report a brief freeze while the sensor recalibrates when you pan quickly, and misleading readings on chrome and shiny metal where reflected apparent temperature dominates the reading.
5. MiLESEEY TR10 – True Sensor Pixels Without the Upscaling
MILESEEY TR10 Thermal Imaging Camera, 192 × 192 IR Resolution, 25Hz
True 192x192 IR sensor
NETD under 50mK
-4F to 1022F, plus or minus 2C
8-hour battery, 8GB storage
Pros
- Real 192x192 sensor rather than an upscaled headline figure
- NETD under 50mK with plus or minus 2C accuracy
- 8GB onboard storage holds over 30000 images
- 25Hz refresh scans smoothly
- Recessed lens protection with a 6.6ft drop test
Cons
- 8-hour runtime is shorter than most rivals here
- No visible-light camera and no image fusion
- Documentation is thin and the manual is the only setup guide
Several cameras in this price band advertise a resolution figure the hardware does not produce. The TR10 does not. Its 192 x 192 figure is the sensor, which makes it the honest budget choice if you care about measurable detail rather than a headline number.
Thermal sensitivity is listed under 50mK, and measurement accuracy is stated at plus or minus 2C, which matters when you are comparing a suspicious cold band against a neighbouring surface of the same material.
Automatic max, min and centre-point temperature locking is genuinely useful during a sweep. The high and low alarm handles anomaly detection, and adjustable emissivity covers different materials. You get 25Hz refresh, so panning across a wall does not produce the stutter some cheaper sensors show.
Storage is the surprise. 8GB built in holds more than 30000 pictures, which is far more than the 512MB on the TC004 Mini, so you are not offloading to a laptop every afternoon. A 3000mAh battery supports 8 hours of continuous operation.
Physical design is handled sensibly. The TR10 is tested to a 6.6 foot drop and the lens sits recessed, which protects the one part of any thermal camera that cannot be replaced. The review profile is 71 percent five-star and 17 percent four-star, with owners citing it for component inspection, insulation checks and heat-loss work.
One structural limitation is worth stating plainly: the listing marks it for indoor use with wired connectivity, and there is no visible camera. That is fine for interior envelope work and less fine for crawlspaces and dark mechanical rooms.
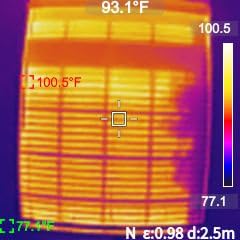
Why native 192 x 192 matters for thin anomalies
Because a real detector measures what is in front of it. When an air leak shows as a narrow linear feature along a ceiling joint, or an insulation void is a thin band at a rim joist, an upscaled image can look convincing while offering no usable temperature data at that scale. A true 192 x 192 sensor does not have that problem.
It also means your files stay useful. If you later want to do proper radiometric comparison between two rooms, or between a before and after air-sealing job, you are working from measured pixels rather than interpolated ones.
For interior work in particular, the combination of a true sensor, under 50mK sensitivity and a 25Hz refresh makes this the most trustworthy image quality you can get at the entry price point.
Where the TR10 leaves work undone
Eight hours of runtime is the shortest here that matters in practice. It will get you through a large home on one charge, but it will not comfortably cover a full day of attic and crawlspace work the way the 15-hour TC004 Mini does.
There is no visible-light camera, so no fusion and no photographic context. That pushes it toward interior envelope and insulation work rather than report-grade exterior scanning. Documentation support is also thin – the manual is the only setup guidance, so budget time to learn the interface before you rely on it in front of a client.
6. FOXWELL RT280 – Best for Attics, Crawlspaces and Dark Rooms
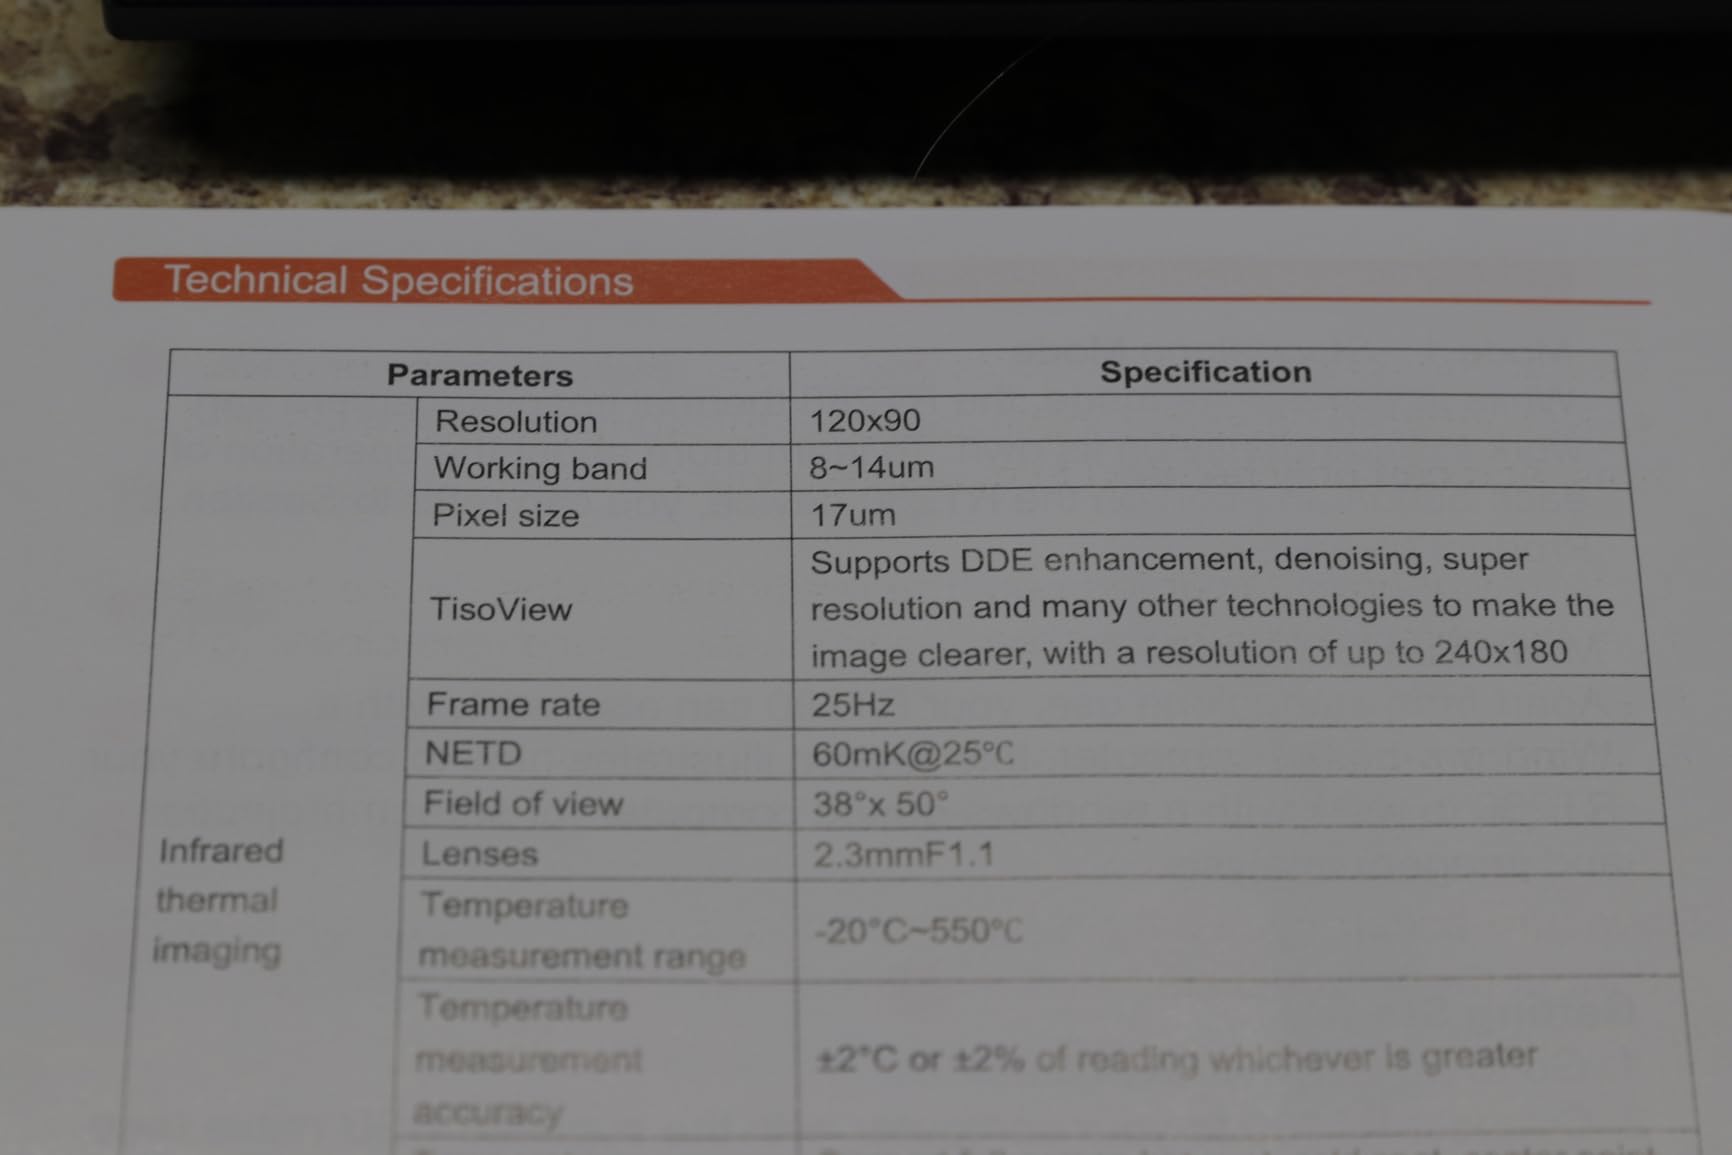
FOXWELL RT280 Thermal Imaging Camera, 320 x 240 2.8″ LCD, 240 x 180 TISR
240x180 TISR image, 50x38 degree FOV
Laser pointer and LED light
Temperature range -4F to 1022F
IP54 and 6.6ft drop resistance
Pros
- Laser pointer and LED light make dark confined spaces workable
- 50x38 degree field of view is wider than the 40x30 on the TC004 Mini
- Windows software adds point line and area analysis with report generation
- Photo and MP4 capture with 8GB storage for 20000+ files
Cons
- Advertised 240x180 resolution is enhanced from a 120x90 sensor
- 25Hz refresh can look choppy on fast pans
- Some owners report absolute readings off by as much as 20 degrees
- No wireless transfer to a phone
The RT280 is built for the part of an inspection nobody enjoys: a dark attic, a low crawlspace, a chase above a return duct. The built-in laser pointer and LED light are the reason, and they change how much of the job you finish in one visit.
Autofocus, a 50×38 degree field of view and a 2.8-inch 320×240 LCD make framing fast. The wide angle means an exterior siding or roof pass needs fewer overlapping frames. Temperature range runs -4F to 1022F with plus or minus 3.6F or 2 percent accuracy.
Automatic high, low and centre point detection runs with both audible and visual alarms, and there are nine colour palettes to choose from. Owners report the camera reliably surfacing heat bridges, leaks and electrical hot spots, with a 71 percent five-star and 15 percent four-star review profile.
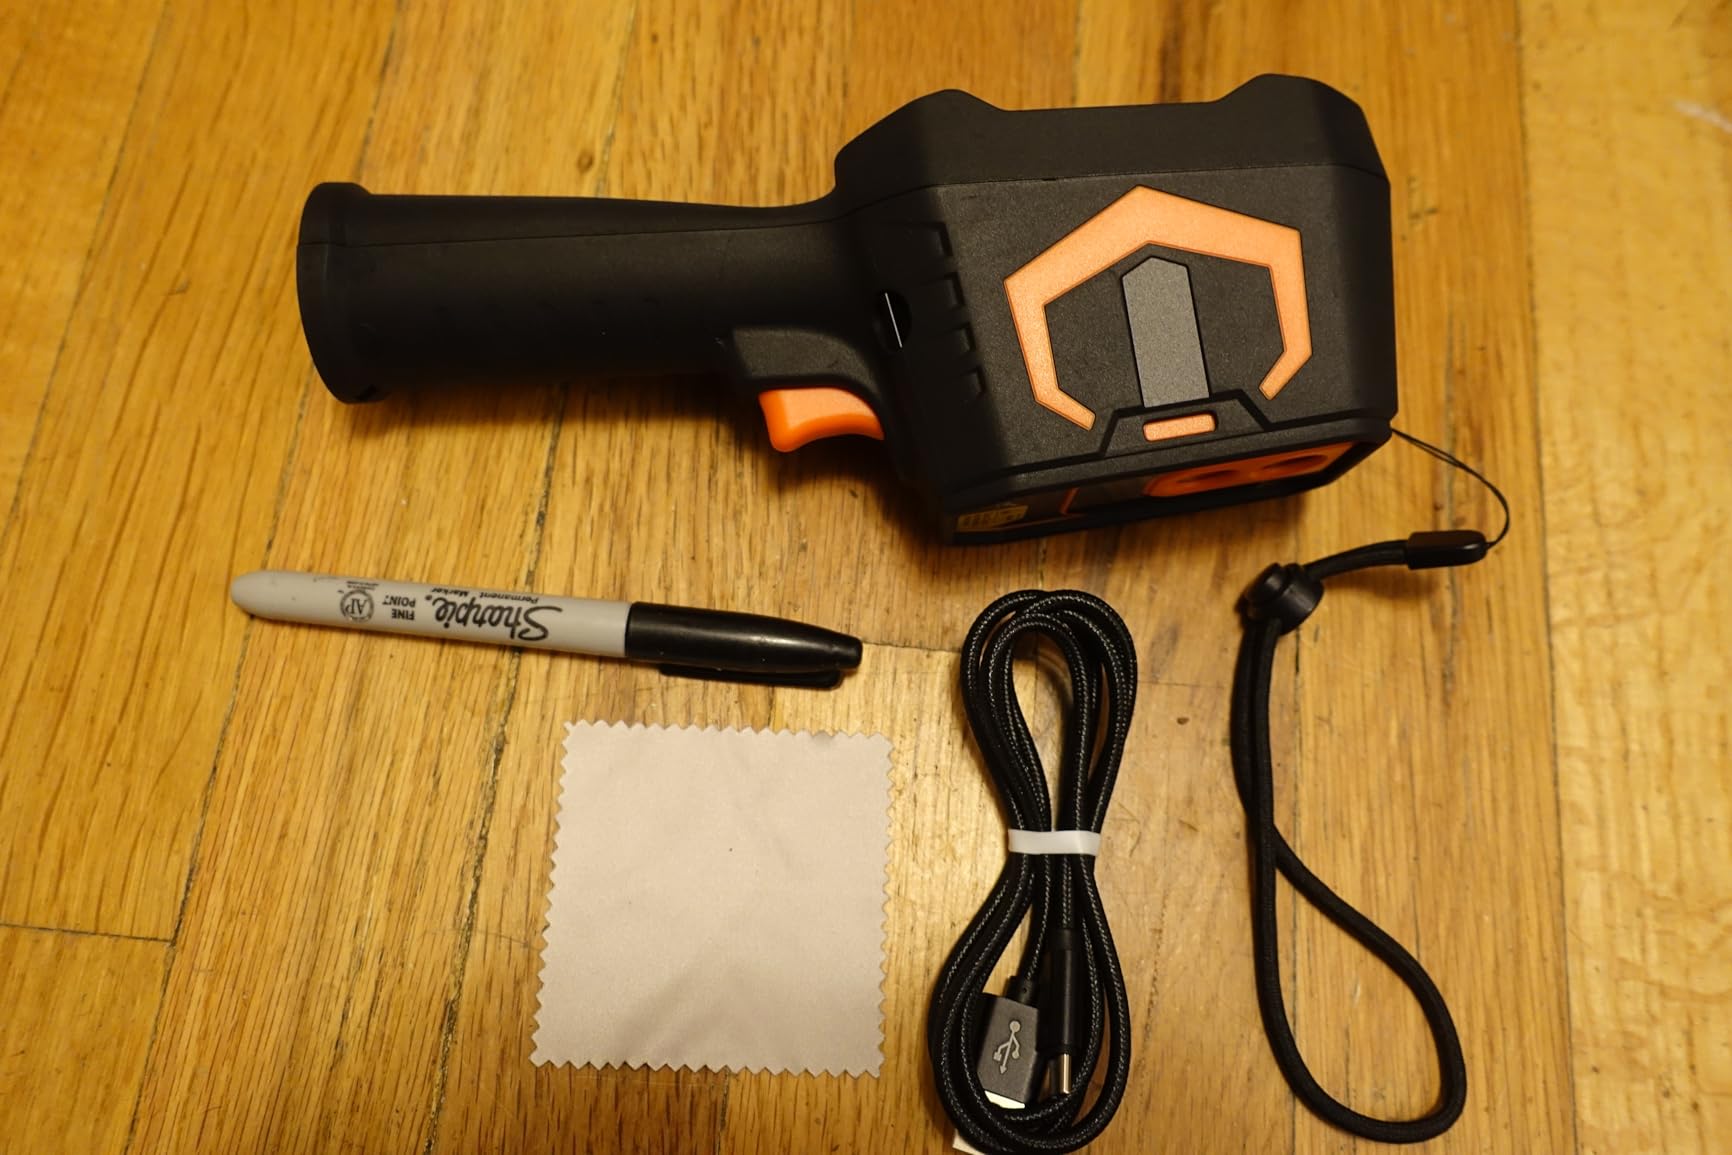
The bundled Windows software is the quiet differentiator at this price. It does point, line and area analysis, 2D and 3D plotting, and report generation, which means your thermograms can carry annotated measurements into a document rather than sitting in a folder as flat images. Files are JPEG and MP4.
Storage is 8GB of eMMC for more than 20000 images and videos, and the interface is USB Type-C. Ruggedness is IP54 with 6.6 foot drop resistance, rated for a tool-bag daily grind.
Autofocus, an ergonomic handheld form and a straightforward control layout mean it works out of the box. That matters when a camera is going into service immediately rather than after a training course.
What the RT280 laser and LED change in the field
They remove the guesswork. In a vented attic with a single work light, pointing a laser at a suspected thermal bridge and getting an automatic high or low alarm on that exact spot is the difference between a usable inspection and a note to come back later with better lighting.
The 50 degree field of view helps there too, because you can frame a wider bay of joist in one frame and catch an anomaly you would otherwise step past.
The Windows reporting software adds the professional finish. Point, line and area measurement on a suspected air leak gives you a number across a defined span rather than a single spot reading, which is the difference between an opinion and a documented finding.
Where the RT280 readings need scepticism
Be honest about the resolution. The 240×180 figure is TISR-enhanced from a 120×90 sensor, the smallest native detector here. Large anomalies read clearly; small features do not resolve the way the Thor002 does.
Owners report absolute temperatures off by as much as 20 degrees in some cases, and bright lights and reflective surfaces registering as false heat sources. That is an emissivity and reflection problem, not a fault – set emissivity for the material, and treat any absolute number on chrome, glass or polished metal as unverified. Note also that the bundled software is Windows only, with no Mac compatibility and no wireless transfer to a phone.
7. FLIR TG165-X – Best for Quick HVAC and Electrical Checks
Flir TG165-X Thermal Imaging Camera with Bullseye Laser, Spot IR
4800 pixel IR sensor with MSX
Bullseye laser shows spot size
-13F to 572F measurement
IP54 drop-tested body
Pros
- MSX makes low-resolution thermal images far more readable
- Bullseye laser shows the size of the measurement area at a glance
- Rugged IP54 drop-tested body for service work
- USB Type-C rechargeable with pouch and strap included
Cons
- 4800 pixels is the lowest resolution in this roundup
- No visible-light sensor for a reference photo
- Needs to be physically close to the subject for a useful reading
The TG165-X is the lightweight FLIR in this group and the one built for a single purpose: pointing it at something and reading a temperature fast. For HVAC service, electrical troubleshooting and mechanical checks, that purpose is served well.
MSX is doing most of the work here. At 4800 pixels the raw sensor is the smallest in this roundup, but MSX embosses visible detail onto the thermal frame, so a duct joint, a breaker and an appliance casing still read as recognisable objects rather than blobs.
The bullseye laser is the feature we would highlight. It draws the actual size of the measurement area on the surface, so you know whether the number you are reading covers the whole component or a fraction of it. On a small part that is the difference between a useful reading and a misleading one.
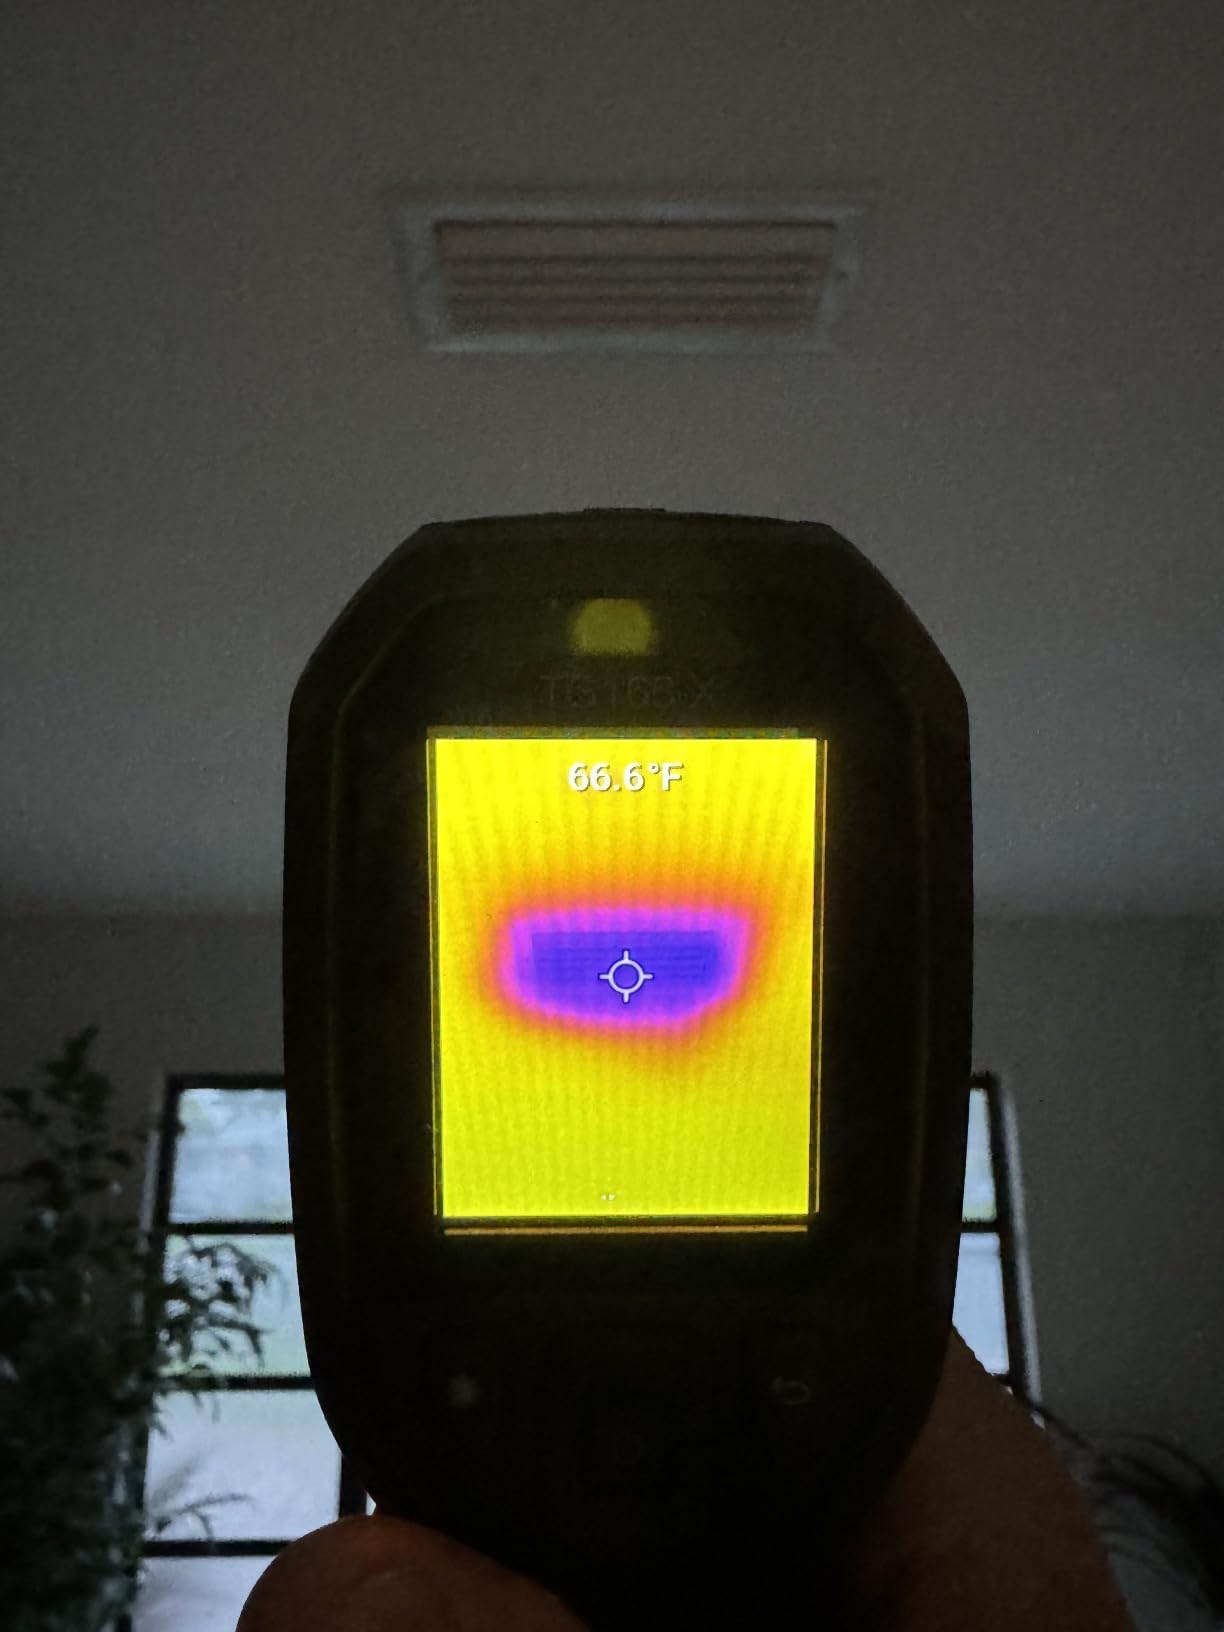
Measurement runs from -25C to 300C, or -13F to 572F, with a 3 second response time. The body is IP54 and drop-tested, weighs 13.92 ounces and is 8.26 inches long, with a wrist strap, USB Type-C cable, carry pouch, batteries and instructions in the box.
The warranty is the same as the C5: two years on parts and labor, ten years on the detector, ten years of EU spare part availability. The review profile is 70 percent five-star, 12 percent four-star and 8 percent one-star across 846 reviews, with owners using it across HVAC, electrical and building envelope work.
What it will not do is resolve a small anomaly across a room. That is a resolution limit, not a flaw, but it should shape where you point it.
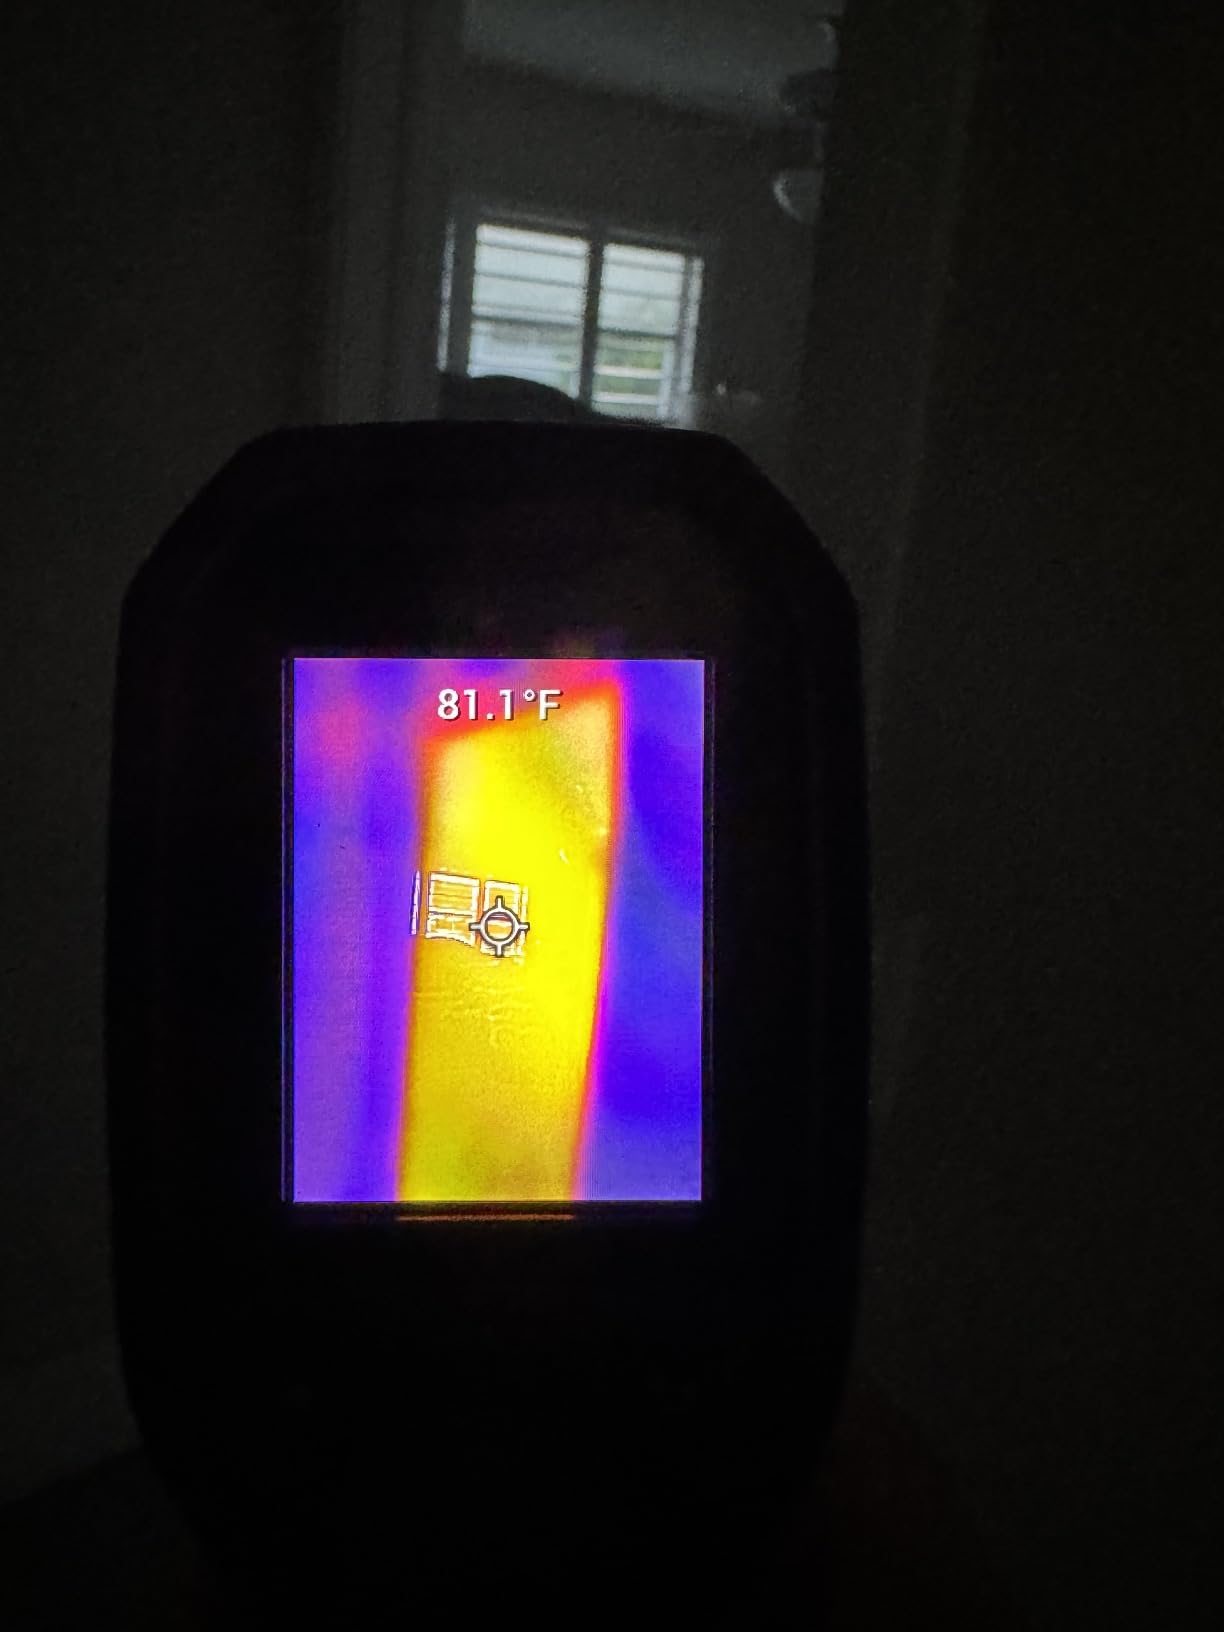
Where the TG165-X is genuinely the right tool
Standing in front of a suspect surface with a service question. Is this supply register actually cold, is this motor running hotter than its neighbours, is this pipe lagging, is this breaker warmer than the rest. The bullseye laser answers exactly that question in about three seconds.
MSX makes a 4800 pixel image usable in a way it normally would not be. The framing stays intact, so the reading is tied to a visible object rather than a floating colour patch.
For anyone moving between mechanical rooms, closets and electrical panels all day, a pocketable 13.92 ounce body with a wrist strap and a pouch is a genuinely better tool than a 3-pound handheld.
Where the TG165-X resolution stops you
4800 pixels is 160 x 120 class, the same detector generation as the C5. It is the lowest native resolution in this roundup, and the honest consequence is that you get good results only when you get close to the subject. Scanning a whole exterior elevation from the driveway with this camera will produce pretty pictures and weak data.
There is no visible-light sensor, so no reference photograph to attach to a thermogram. And while the 2-year parts and labor plus 10-year detector warranty is a real advantage, you are paying a brand premium for a low-resolution sensor in a body that is otherwise a service tool rather than a documentation tool.
8. HSFTOOLS HF96V – Best Fusion View at the Entry Tier
HF96V Thermal Camera with Visual Camera & Laser Pointer, Intelligent Scene Detection, 240 * 240 Super Resolution Thermal Imaging Camera,25 Hz, 50° FOV, -4°F to 1022°F, IP54 Infrared Camera
96x96 IR plus 640x480 visible camera
240x240 super resolution
Under 50mK, 25Hz, 50 degree FOV
11-hour battery, 4GB, IP54
Pros
- Dual cameras with fusion mode make it obvious what you are looking at
- Laser pointer and tripod mount suit attic and crawlspace work
- 11-hour battery with 4GB holding 30000+ images and 14 hours of video
- IntellFault scene detection flags leaks and insulation gaps
Cons
- Real IR sensor is only 96x96 and the 240x240 figure is upscaled
- Low screen resolution makes images look soft
- IntellFault needs a firmware download and is not available out of the box
The HF96V solves a first-time-user problem that no other camera here addresses. When you do not yet know what a rim joist thermal bridge looks like, a fusion view that overlays the thermal image on a 640×480 visible picture tells you what you are looking at while you are looking at it.
There are three modes: Fusion, Thermal and Visual. Thermal sensitivity is under 50mK at 25Hz with a 50 degree field of view, and the temperature range is -4F to 1022F with plus or minus 3.6F accuracy. Emissivity and distance can be fine-tuned for materials including cement and brick, and you get adjustable level and span plus custom high and low alarms.
The IntellFault feature uses deep-learning scene detection to flag water leaks and insulation gaps. It is worth knowing that it requires a firmware download and must be selected after the update, so it is not available the moment the camera arrives.
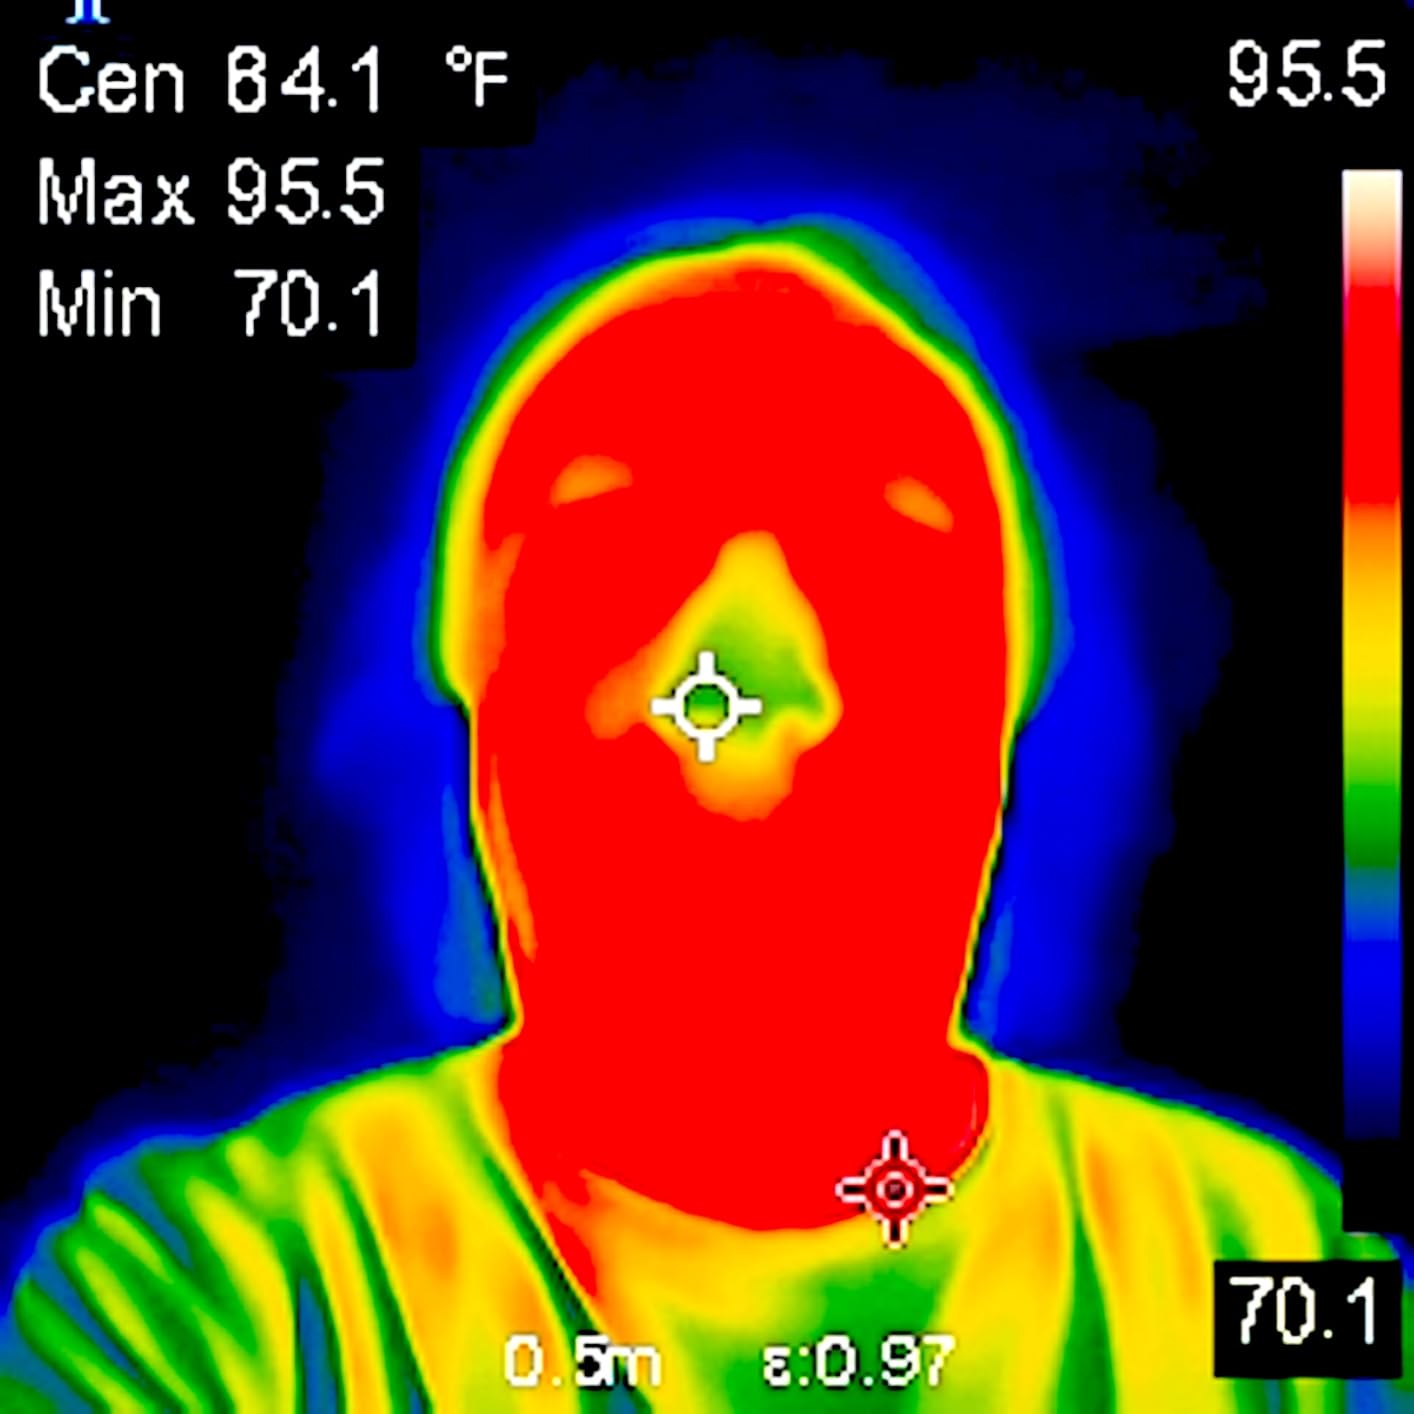
Battery life is 11 hours from a rechargeable cell, and 4GB of storage holds more than 30000 images plus 14 hours of video. Owners praise the laser pointer and tripod mount for dark spaces and attic or crawlspace work, and report using it for heat leaks around doors and windows, ceiling insulation and electrical hot spots. The review profile is 74 percent five-star and 14 percent four-star.
The HSF Studio Windows software adds image analysis, screen projection, real-time monitoring and 3D plotting, plus a standard tripod hole for steadier assisted work. Physical specs are 3.8 by 6.3 by 10.4 inches at 1.32 pounds, with IP54 protection and a 6.6 foot drop test.
One practical note: charging only works reliably with the included 2-in-1 USB-C cable, and other cables fail silently. Pack the supplied one.
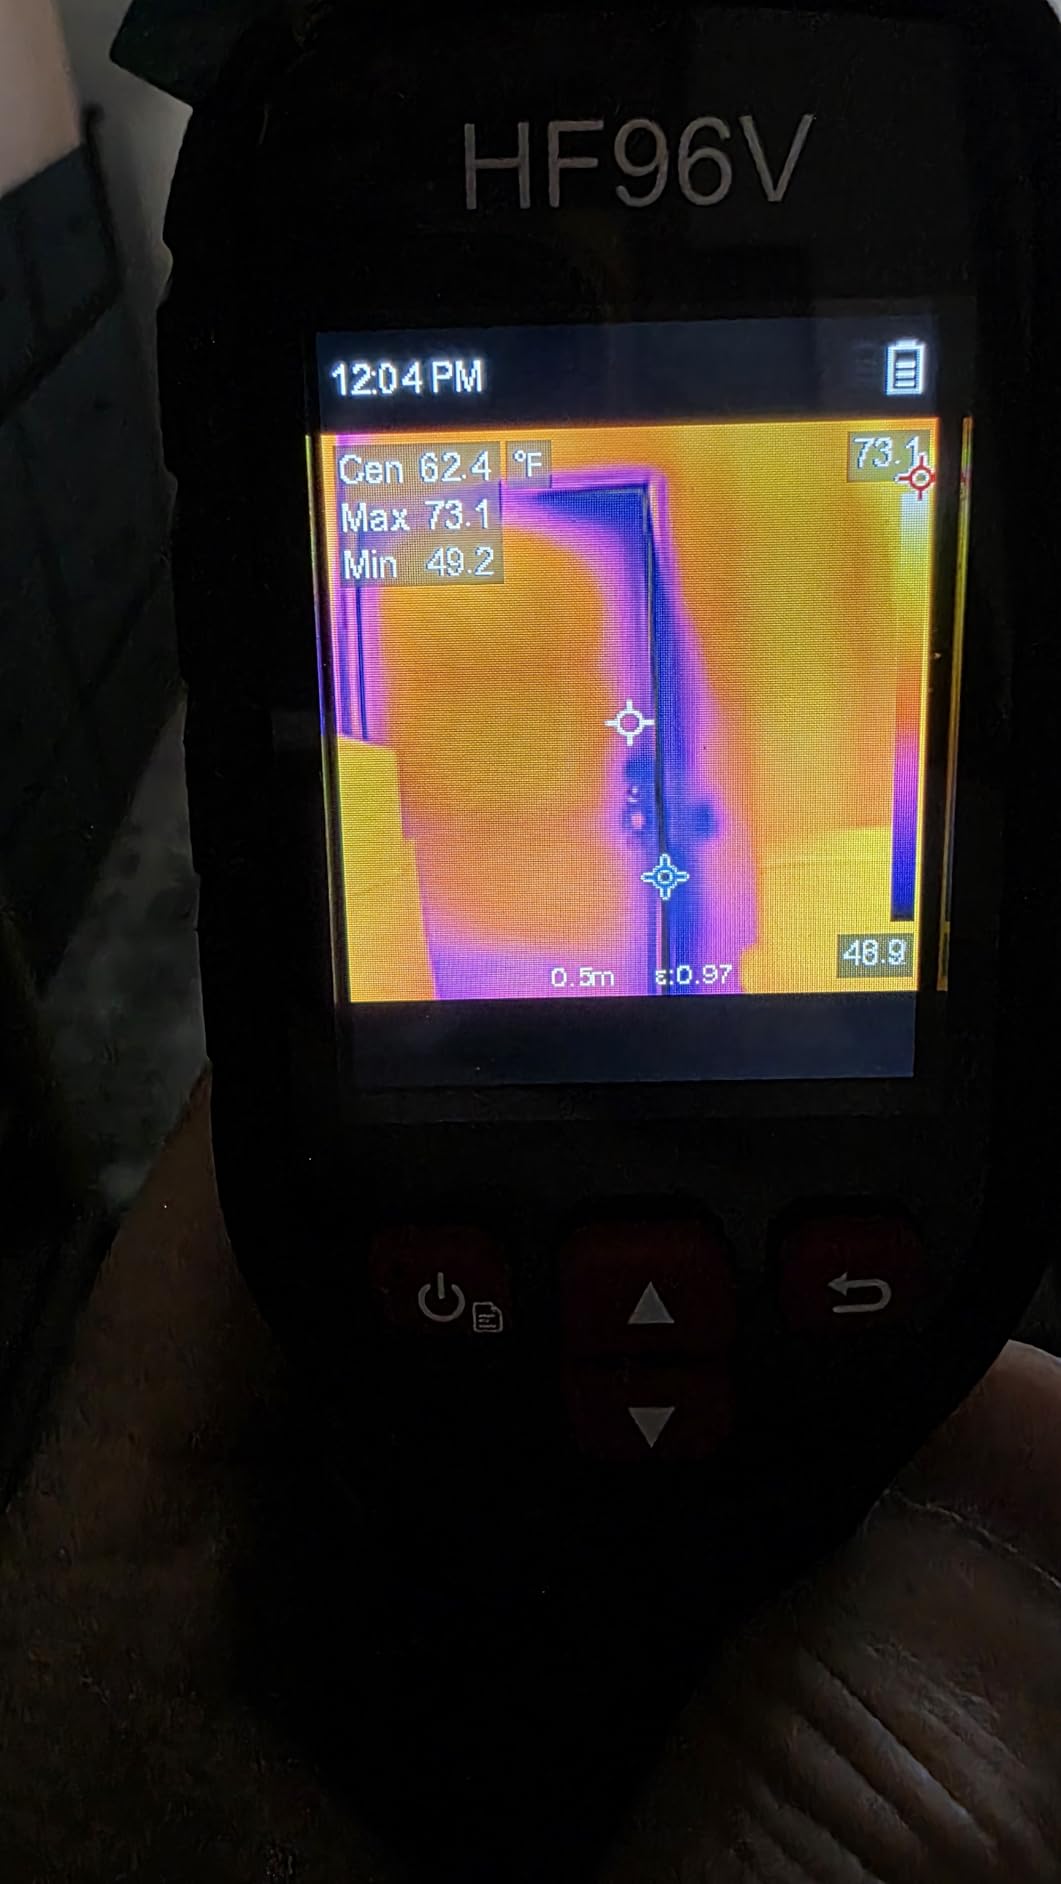
What fusion mode does for a first-time user
It removes the guessing. A thermal-only image of a ceiling gives you a colour field and three numbers. A fusion image gives you the same information over a photograph of the actual joists, so you can tell a missing insulation void apart from a shadow or a light fitting without a reference manual open beside you.
It also solves the documentation problem cheaply. The visible camera gives you context for a finding, which the TI250 and the TG165-X cannot, and it does so at the entry tier rather than the premium one.
For a homeowner learning what their own house looks like thermally, that is the single most useful feature on this camera.
Why the 96 x 96 base sensor matters
Because it is the smallest native detector here, and the 240×240 headline is live super-resolution upscaling. The image will look soft wherever there is no strong temperature difference, and small anomalies across few pixels simply do not contain usable data.
Owners also report a confusing interface and menu layout, and note that the low screen resolution makes fine detail hard to judge on the device. If you need measurable small-anomaly data, the MiLESEEY TR10 at a true 192 x 192 or the Thor002 at 512 x 384 is the honest answer.
What Thermal Imaging Can and Cannot Find in a Home
A thermal camera measures surface temperature. That single sentence explains both its power and its limits, and it is the line you need before you write anything into a report.
It cannot see through walls. There is no through-wall imaging here, and any product page implying otherwise is describing a different technology. What you see on the interior surface of an exterior wall is the thermal signature of heat that has already travelled through the assembly, which is exactly what you want to see and no more.
It can find a missing insulation void. The signature is geometric – straight edges, rectangular or linear shapes, often at framing members, a consistent band at a rim joist or a strip along the head of a window. Geometric because the cavity itself is a regular shape.
It can flag a probable moisture intrusion. The signature is organic – an irregular, feathered plume with soft boundaries, often darker than the surrounding surface, frequently with a cold leading edge where evaporation is drawing heat. The shape tells you the two cases apart before you reach for a moisture meter.
It can screen electrical hot spots and HVAC faults from a safe distance. It cannot tell you whether a hot breaker is a loose connection, an overloaded circuit or a failing device, and it is not a reason to remove a panel cover.
It cannot detect mould, cannot measure moisture content, and cannot confirm a defect of any kind. On privacy: a thermal camera pointed at the outside of a house reveals general envelope performance and broad heat loss patterns, not occupancy, not room layout and not who is inside.
How to Scan a House: Delta T, HVAC Off, Sweep Order
The biggest determinant of a useful thermal scan is not the camera. It is the temperature difference between inside and outside, and how much the mechanical systems have disturbed the picture. Get those right and an entry sensor produces usable data.
Step 1 – Check the delta T. Aim for at least 10 to 15 degrees Celsius, or 18 to 27F, between indoor and outdoor temperature. Below that, thermal anomalies blur into background variation and you are interpreting noise.
Step 2 – Kill the mechanical systems 20 to 30 minutes before you start. Run the HVAC and the water heaters beforehand so the envelope is under load, then shut everything down and let the building sit. A house still being heated or cooled while you scan produces patterns that look like defects and are not.
Step 3 – Acclimate. Doors and windows closed, no direct sun on the surfaces you are scanning. Solar loading will warm one side of a wall and create a false anomaly that can be read for a defect.
Step 4 – Sweep in a fixed order. Start at the attic and look at knee walls, then the rim joist band, then window heads and sills, then plumbing stacks, then the electrical panel, then ceilings and floors room by room, then interior door and window perimeters. A consistent order means you cover the same targets at every house and you can compare your own results over time.
Step 5 – Validate outside. Any interior anomaly worth writing down should be checked against the same location on the exterior. If an interior cold band has no exterior counterpart, the cause is inside the conditioned space and is not an envelope defect.
Step 6 – Confirm before you report. Every significant finding gets a second instrument. A pinless moisture meter for anything that looks like a moisture plume, a borescope where access allows, a visual check wherever the building science makes a predictable cause, and an electrician for anything electrical.
Season matters. In heating season, run the heating load, scan interiors against a cold exterior and focus on window perimeters, door thresholds, attic access hatches and service penetrations. In cooling season, invert it: run the cooling load, scan exteriors from a distance for envelope performance, and look for warm inbound leaks and solar-loaded soffits before you blame the wall.
Time of day matters too. Early morning and the hour after sunset minimise solar loading and give the sharpest contrast. Midday exterior scans of west-facing walls are close to useless without a large delta T.
Our broader thermal imaging coverage, including models built for industrial and automotive use, sits in our thermal imaging camera roundup. For confined mechanical spaces, our borescope inspection camera guide covers the visual confirmation step that follows a thermal finding, and our inspection lamp guide covers the lighting that makes those spaces workable at all.
How to Choose a Thermal Camera for Home Inspection
Native resolution beats advertised resolution. This is the single most important spec and the easiest to get wrong. The TC004 Mini, the RT280 and the HF96V all headline a resolution higher than their detectors produce. If you intend to measure small anomalies at any distance, look for the true sensor figure: 192 x 192 on the TR10 and 512 x 384 on the Thor002 are real, and the rest are interpolated to varying degrees.
Resolution tiers and what each is for. 160 x 120, or about 19200 pixels, is enough for broad air leaks, missing insulation in large voids and obvious thermal bridging on interior surfaces – you have to be close. 192 x 192 to 256 x 192 handles small defects at short range and reads well across a room. 320 x 240 and above is where you can stand back from a wall or across a crawlspace. 512 x 384 is a genuine professional tier for fine feature work.
NETD is sensitivity, not accuracy. The noise-equivalent temperature difference tells you the smallest temperature difference the sensor can resolve. Under 50mK is very good, and 70mK is still usable. Accuracy is a separate specification entirely, and it is the one that determines whether an absolute number in a report holds up.
Emissivity adjustment is not optional. Painted drywall, brick, tile, wood and vinyl all emit infrared differently. A camera with no emissivity control will read the same surface differently from one that has it, and the TI250, the Thor002, the RT280 and the HF96V all let you set it. Remember that shiny metal and glass reflect the environment and produce readings that reflect the reflected apparent temperature, not the surface.
Get an IP rating and a drop rating. IP54 means protected against dust and splashing water, and most of the units here carry it. Crawlspaces, attics and job sites destroy cameras, and a phone attachment is worse still – inspectors on r/HomeInspections have described losing three phone thermal cameras in two years because they are small enough to forget.
Standalone or smartphone attachment? A phone attachment is cheaper, lighter and needs no charging discipline of its own, but it locks you to a connector type and an OS version, it dies when the phone does, and you are holding two things instead of one. For occasional one-time checks it is a reasonable trade. For daily professional use, a standalone handheld that fits a pocket and lasts a working day is the better answer.
Check the reporting path before you buy. Decide where your thermograms will live. The C5 runs through FLIR Ignite and a cloud account. The RT280 and the HF96V include Windows analysis software. This choice effectively locks you to an ecosystem, so find out what post-capture analysis you want before you pick the camera, not after.
Budget for training, not just hardware. The common view in the NACHI forum is blunt – an expensive camera operated by someone untrained produces findings that are not worth much. Level I and Level II Thermography certification is the recognised credential for professional findings, and the cost of training belongs in the same budget line as the camera.
Learn the wording your findings can carry. A defensible finding follows an evidence chain: anomaly, context, confirmation, action. Say what you observed, what you ruled out, what instrument confirmed it and what the buyer should do. Do not write “water damage” from a thermal image. Write what you saw, what you confirmed and what the likely cause is.
For anyone still working out the basics, our home security camera guide covers the visual cameras that complement a thermal pass rather than replace it, and our LED inspection light guide covers illumination for the rooms where a thermal sweep is only as good as the light you can see in.
Frequently Asked Questions
What is the best thermal imaging camera for home inspectors?
For most working inspectors the TOPDON TC004 Mini is the best balance: the most heavily reviewed camera in our group, a 15-hour battery, an IP54 and 2-meter drop rating, and an automatic high/low alarm that captures the anomaly image for you. Inspectors who need to resolve small anomalies at a distance should look at the Thermal Master Thor002 for its native 512 x 384 detector, and inspectors who need report-grade client documentation and long warranty cover should look at the FLIR C5.
Is thermal imaging worth it for home inspection?
Yes, as a screening and documentation tool, and no as a diagnostic instrument. It is worth it when there is at least a 10 to 15 degree Celsius temperature difference across the envelope, the HVAC has been shut down for 20 to 30 minutes, and every anomaly is confirmed with a second instrument. It is not worth it as a standalone finding: a thermal image cannot identify what is behind an anomaly or prove a defect.
Are HIKMICRO thermal cameras any good?
HIKMICRO has a strong reputation in this field, and inspectors on the NACHI forum rate models like the M30 highly for the specification you get at that tier. We did not include a HIKMICRO camera in this roundup because our product set was limited to eight models, so treat that answer as general rather than a tested verdict. The specs to compare on any HIKMICRO model are the same ones we used here: native sensor resolution, NETD, IP rating, battery hours and whether radiometric files export to third-party software.
What is the difference between FLIR and thermal camera?
FLIR is a brand and a thermal camera is a category, so the question has a false premise. Thermal camera covers products from FLIR, HIKMICRO, Fluke, Testo, TOPDON, Seek, Thermal Master, Klein Tools and many others. FLIR is best known for MSX image enhancement, pocketable Ignite-connected models and long warranties, which is why the C5 remains a common report-grade choice.
What resolution is enough for home inspection?
160 x 120, around 19200 pixels, is enough for broad air leaks, large insulation voids and obvious thermal bridging when you are close to the surface. 192 x 192 to 256 x 192 handles small defects across a room. 320 x 240 and above lets you step back from a wall. Critically, check that the figure is the native sensor and not software upscaling, because several budget cameras advertise an interpolated resolution.
Can a thermal camera see moisture behind drywall?
No. A thermal camera reads surface temperature only and cannot see through walls, so it cannot detect moisture behind drywall. What it can do is show a surface signature consistent with moisture intrusion – an irregular, feathered cold plume with soft edges, often with a colder leading edge where evaporation is drawing heat. Confirm that signature with a pinless moisture meter, a borescope or an opening before you report it.
Should I buy a phone thermal camera or a handheld?
Buy a phone attachment if you are doing occasional one-time checks and already carry your phone everywhere. Buy a standalone handheld if you use it daily, work in attics and crawlspaces, or need the images to survive the job. Phone attachments lock you to a connector type and an OS version, and inspectors report losing them because they are small enough to leave behind – one described losing three in two years.
Can someone see inside my house with thermal imaging?
No. A thermal camera reads the surface temperature of the surface it is pointed at. An exterior scan of a house reveals general envelope performance and broad heat loss patterns, not the interior layout, not occupancy and not who is inside. A visible-light camera pointed at a window at night is a completely different and much more capable privacy problem.
Bottom Line: Which Thermal Camera Should You Buy?
The best thermal cameras for home inspection fall into three clear jobs, and buying the wrong one for your job is the expensive mistake here.
Buy the TOPDON TC004 Mini if you do whole-house and electrical work regularly. Fifteen hours of runtime, an alarm that captures the anomaly, an IP54 and 2-meter drop rating, and the most owner feedback of any camera here. Buy the Thermal Master Thor002 if you need real pixels – 512 x 384 native is the only genuine high-resolution detector in this group. Buy the FLIR C5 if your findings have to survive a dispute, because MSX, a 5MP visible sensor and a 10-year detector warranty are what make a report defensible.
The MiLESEEY TR10 is the honest budget option with a true 192 x 192 sensor and a stated accuracy of plus or minus 2C. The HSFTOOLS HF96V is the learner pick, where fusion mode shows you what you are looking at. The FOXWELL RT280 wins in dark attics and crawlspaces with its laser, LED light and Windows reporting software. The FLIR TG165-X is the fast service-tool answer, and the Klein Tools TI250 is the 8.6 ounce unit you will actually carry between jobs.
Whichever you choose, budget for training and confirm every finding with a second instrument. The camera is the easy part.